The tutorials part 12 for the Android version of Cargo Surveyor deals with the reference heights and raw measurements report.
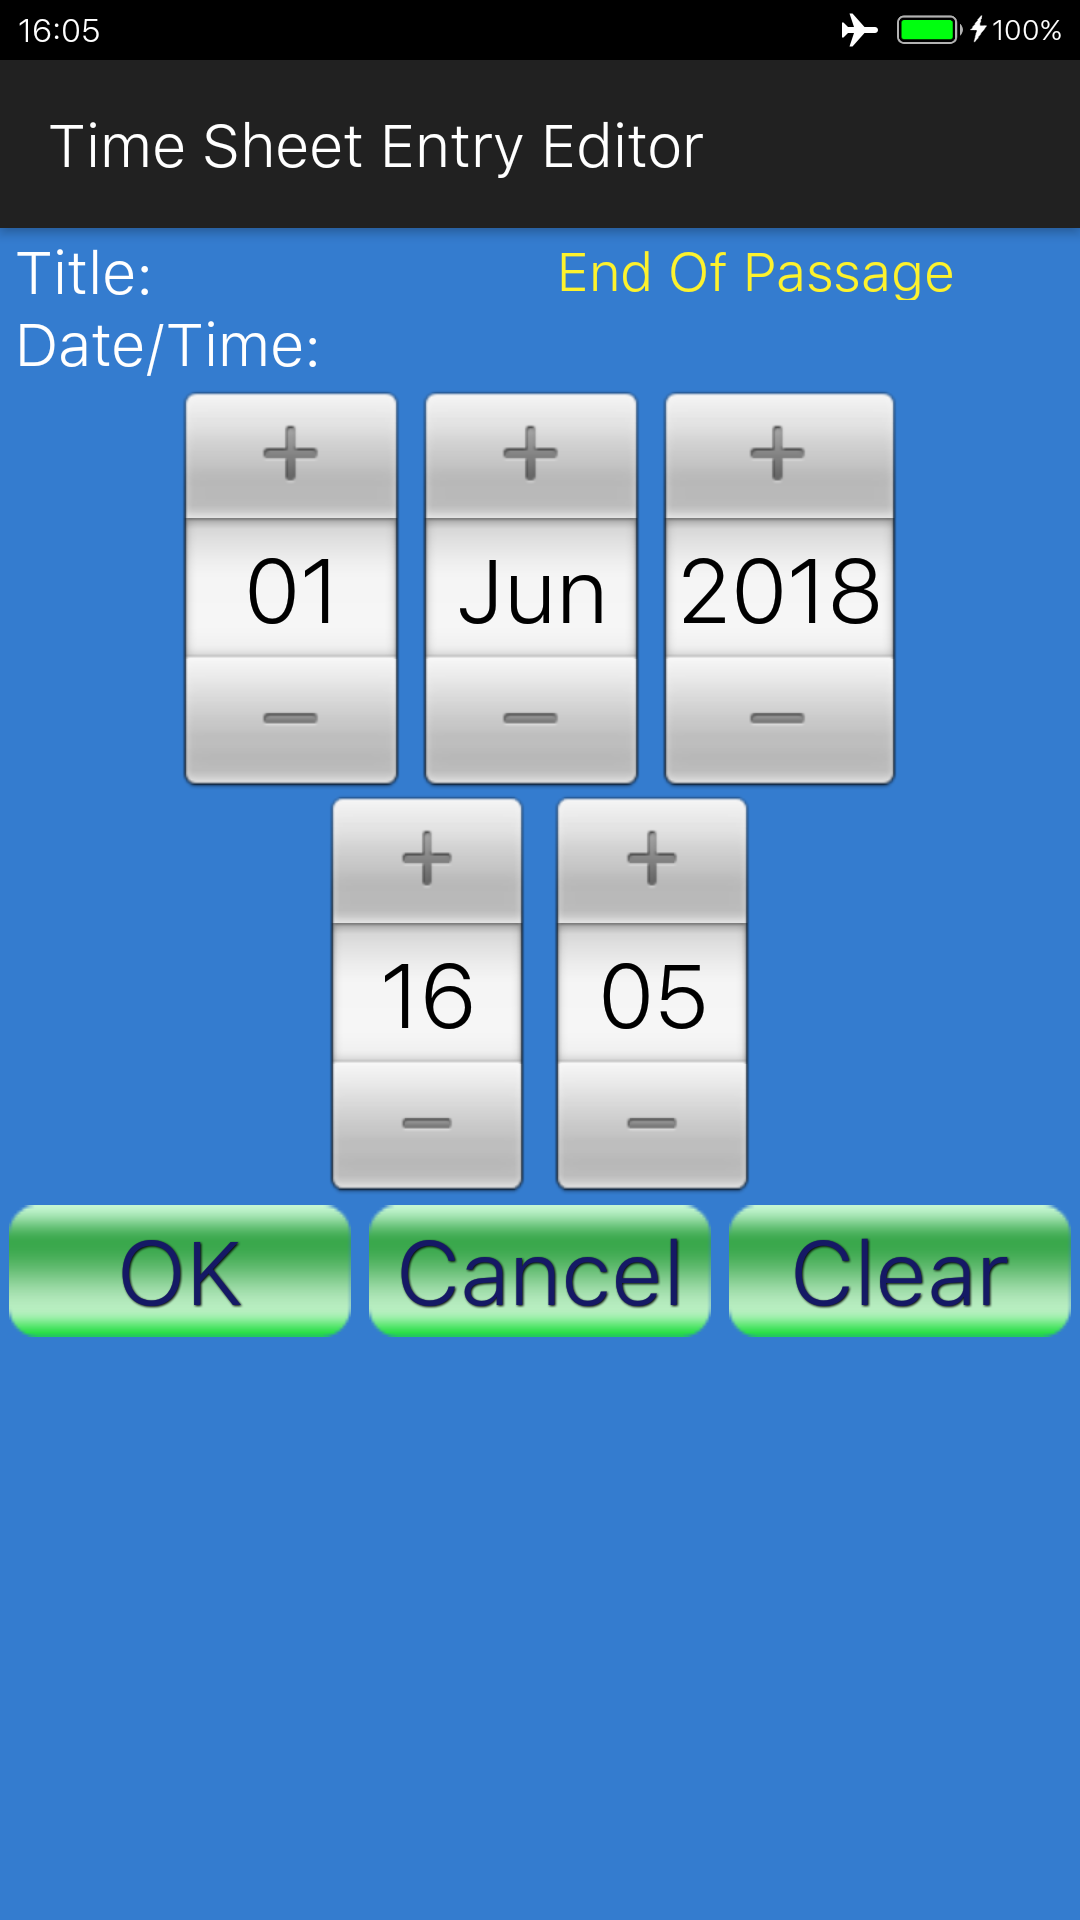
In number 11 of the tutorials for Cargo Surveyor for Android we discussed the time sheet.
Today we will discuss part 12 of the tutorials, which deals with the reference heights and raw measurements report.
To get to the ref heights and raw measurements editor we first need to go to the list of reports (‘Pdf/jpg Reports’), which can be accessed by pressing the options menu button (on newer phones this in the top right hand corner of the screen); this options menu is available from within:
- the first screen when you open the app
- the tank configuration screen for standard layout
- the tank configuration screen for extended layout

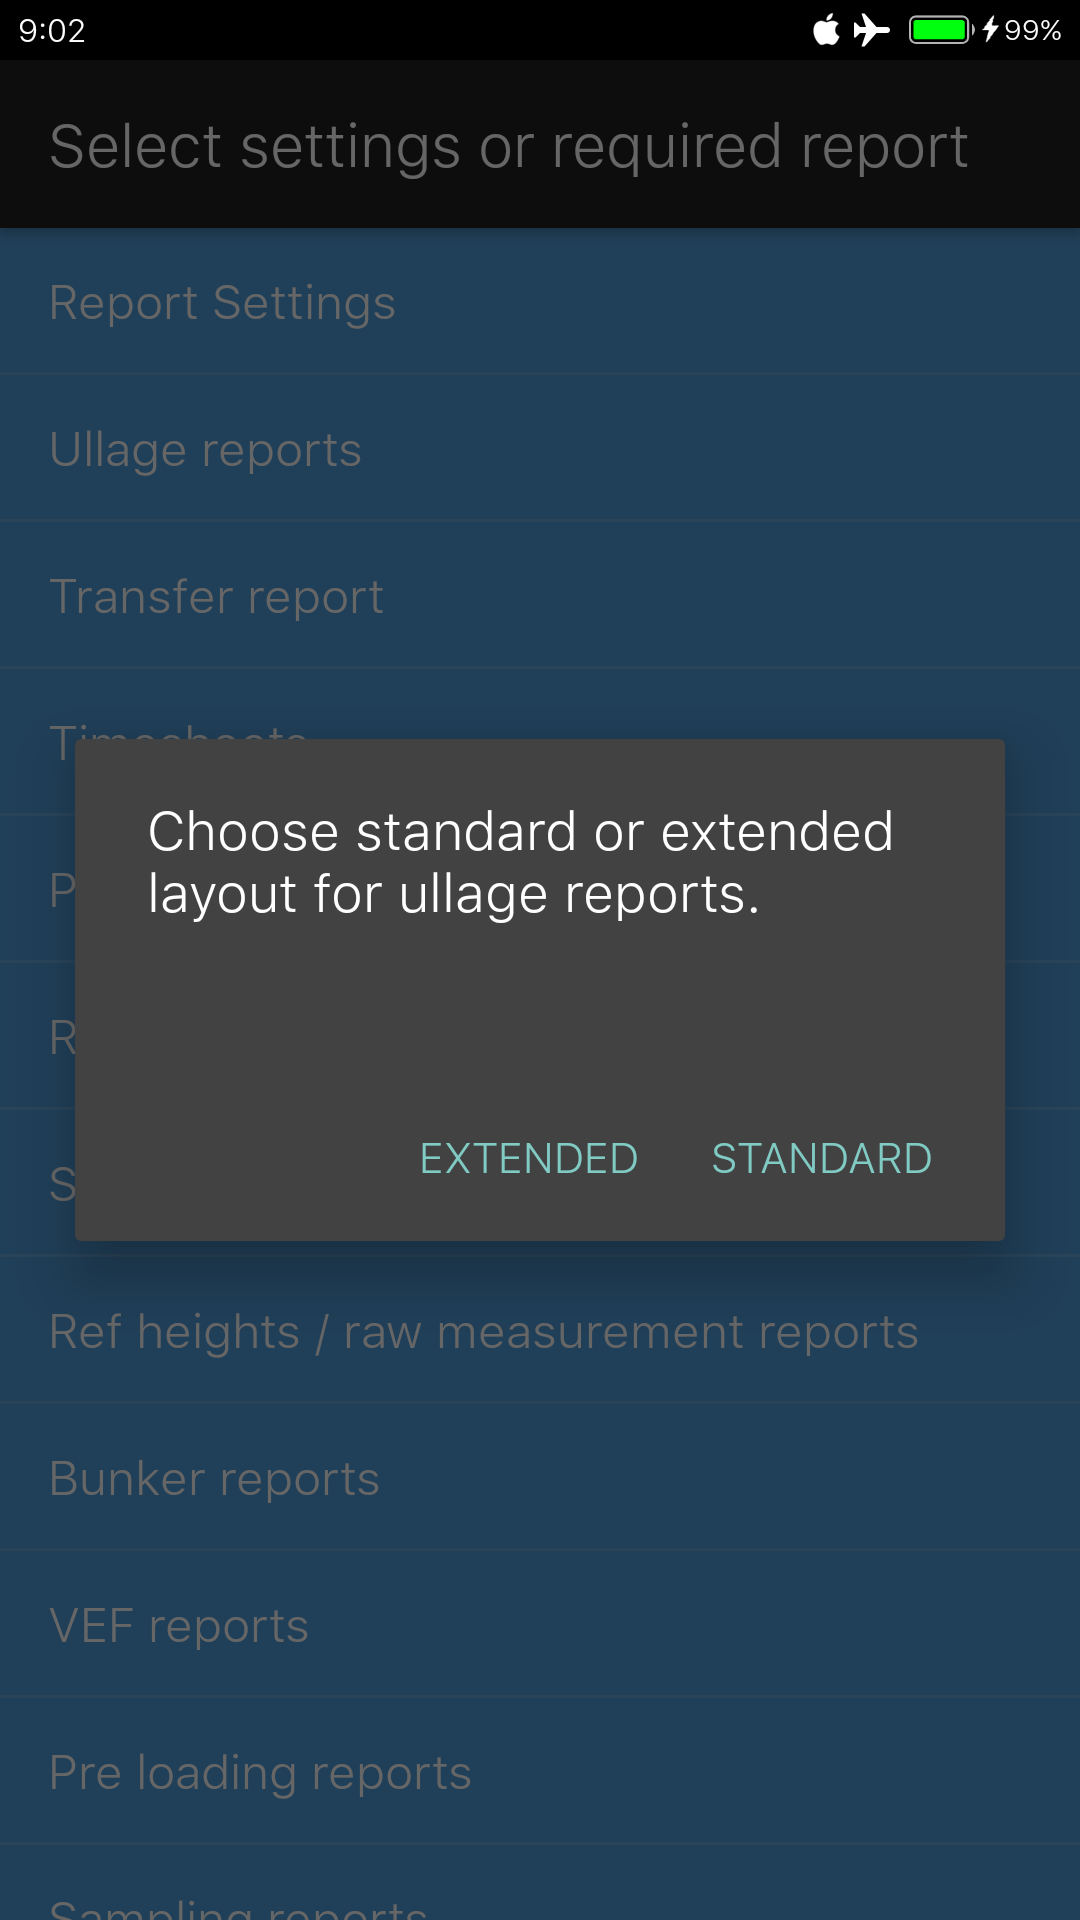
After pressing the option ‘Pdf/jpg Reports’, the list of available types of reports appears. If you accessed this from the very first screen, a message comes up first, asking you to confirm whether to use standard or extended layout for ullage reports. For ref heights and raw measurements reports you can choose either, it makes no difference. The choice between extended and standard layout is only important for ullage reports and transfer summary reports:

After selecting ‘EXTENDED’ or ‘STANDARD’ (if applicable), from the list above you select ‘Ref heights / raw measurement reports ‘, and this will bring you to the list of available ref heights and raw measurements reports. If this is the first time that you are going to create this report, the list will show only one entry: ‘Create new entry’:

After pressing the ‘Create new entry’ line in the list, you will be asked to enter a title for the report, we can simply use our ‘Testship’ as title:

Once you press ‘OK’, the ref heights and raw measurements reports list shows the new entry ‘Testship’. The here described process for accessing the pdf/jpg reports, and for creating a new pdf/jpg report is the same for all the reports except for the ullage report and transfer report; the ullage report is created from within the STANDARD and EXTENDED tank layout. The transfer report is created based on the selection of two existing ullage reports, as discussed previously.
Now if you select the ‘Testship’ entry, the ref heights and raw measurements editor appears if you select ‘Load/Edit data’ from the list of available actions:


The following controls are available in the Ref height editor:
- Fields for vessel, port etc: these 4 entries are taken from the report settings if they exist and can be overwritten. They can only be entered / changed when the 1st tank is selected.
- Ullage units, either Mtrs or Ft and inches. If you change the setting while there are values in the applicable fields, these will automatically be converted.
- Temperature unit, either deg C or F. The same applies as with ullage units.
- A drop down to choose the means of measurement (MMC, UTI or Tape). This can only be set / changed if the 1st tank is selected, just like the ullage and temperature units.
- A field for the serial number of the measurement instrument, can only be changed if first tank is selected.
- A switch to indicate if the instrument has been verified. If you set the switch to ‘No’, an additional field ‘Reason?’ appears and you can enter a reason. This can only be changed when the first tank is selected.
- A switch to indicate whether the calibration certificate for the instrument is in order (i.e. is it available, has it been sighted, is it valid). If you set this to ‘No’ an additional field is visible where you can enter a reason, as shown in the picture.
- A field for describing the means of water detection (i.e. paste, or UTI/MMC).
- The name of the currently selected tank. If you change the name of a tank, this change gets immediately reflected in the tank picker (14).
- The set of three ullages to enter.
- The set of three temperatures to enter.
- The levels at which temperatures were taken.
- The official and the measured reference height values.
- The tank picker, with a button “+” to create new entries.
- A field for any additional remarks and a field for a disclaimer. If this exists in report settings, it is that is used if the disclaimer field here is left empty. This can be overwritten manually.
As mentioned in previous tutorials, within each list of available reports there is a shortcut to the settings page (where applicable), to be able to quickly change settings such as whether to use SI Metric or Imperial.
Once your report is created and you select the entry, you can delete, copy, edit or view the report, and also create a new report.
The first 4 entries are taken from report settings and can be overwritten manually. In the top part of the screen there are two switches to which let you choose mtrs or Ft and inches for ullage, and °C or °F for the temperature unit.
These can only be set for the first tank. If an entry exists, this entry is automatically converted when you change the unit setting.
The next switch let you choose whether measurements were taken using MMC, UTI or tape. This will be reflected in the report. Also the serial number of the instrument can be entered.
Next there are two switches for indicating whether the instrument has been verified by the surveyor (against his own calibrated equipment), and whether the calibration certificate for the vessel’s instrument is available, has been sighted and found acceptable, and if not, the reason.
There is a field to indicate how water detection has been established, usually either using water finding paste or utilizing the interface detection mechanism in the UTI or MMC. This field can only be edited when the first tank is selected.
Below the water detection field you will find the tank picker. Initially only 1 tank is available. Once you edit the report, the tank names can be edited as well, to suitable names such as 1P, 3C etc.
Below the tank picker you will find the fields for tank name, measured ullages, measured temperatures and reference heights. As mentioned above, the units for these can be selected only when the 1st tank is selected, and any existing values are automatically converted when you change the unit. When entering ullages in feet and inches, it is necessary to use a comma to separate feet and inches.
Next to the tank picker there is a button “+”, used to create new entries. The name of the new entry is always set at the total number of entries, once the entry is there you can edit the name as you see fit.
Regardless of whether you enter ullages, reference heights and temperatures in Metric or Imperial units, when you generate the report you can choose whether to generate in either form, by choosing SI Metric or Imperial in general settings.
Once you are done with creating and editing and return to the list of reports, you can choose to view the report, and you will again be given the options to send by email and export to csv file as with other reports.

Reference heights and raw measurements report using Metric units
If you press the back button and answer the queries regarding sending the report by email exporting to csv with ‘NO’, you arrive back in the reference heights records list, where you can change the units setting between SI Metric and Imperial. After changing to Imperial, if you select the ‘Testship’ report again and press ‘View pdf’, you can see the report using Imperial units.

Reference heights and raw measurements report using Imperial units
This is the end of part 12 of this tutorial; in part 13 and further we will discuss the NOADs and SOFs. In the mean time, for those who are interested in Cargo Surveyor for Android: the app can be downloaded here:
We post updates for the app in Google Play frequently to solve minor bugs, and advise all users to update as soon as a new update is available; we don’t use advertisements in Cargo Surveyor and we never will.
If you have any queries, suggestions, comments, criticism about the app or this blog post, please let us know! We always do our best to accommodate any requests for additions/modifications to our apps if they improve the value!
 Download dropbox for free