
The tutorials part 4 for the Android version of Cargo Surveyor deals with the Bunker report.
Recently we discussed the third document of the set of documents required to be produced in the load port, the Slop report.
Today we will discuss part 4 of the tutorials, which will deal with the Bunker report:
To get to the Bunker report editor we first need to go to the list of reports (‘Pdf/jpg Reports’), which can be accessed by pressing the options menu button (on newer phones this in the top right hand corner of the screen); this options menu is available from within:
- the first screen when you open the app
- the tank configuration screen for standard layout
- the tank configuration screen for extended layout

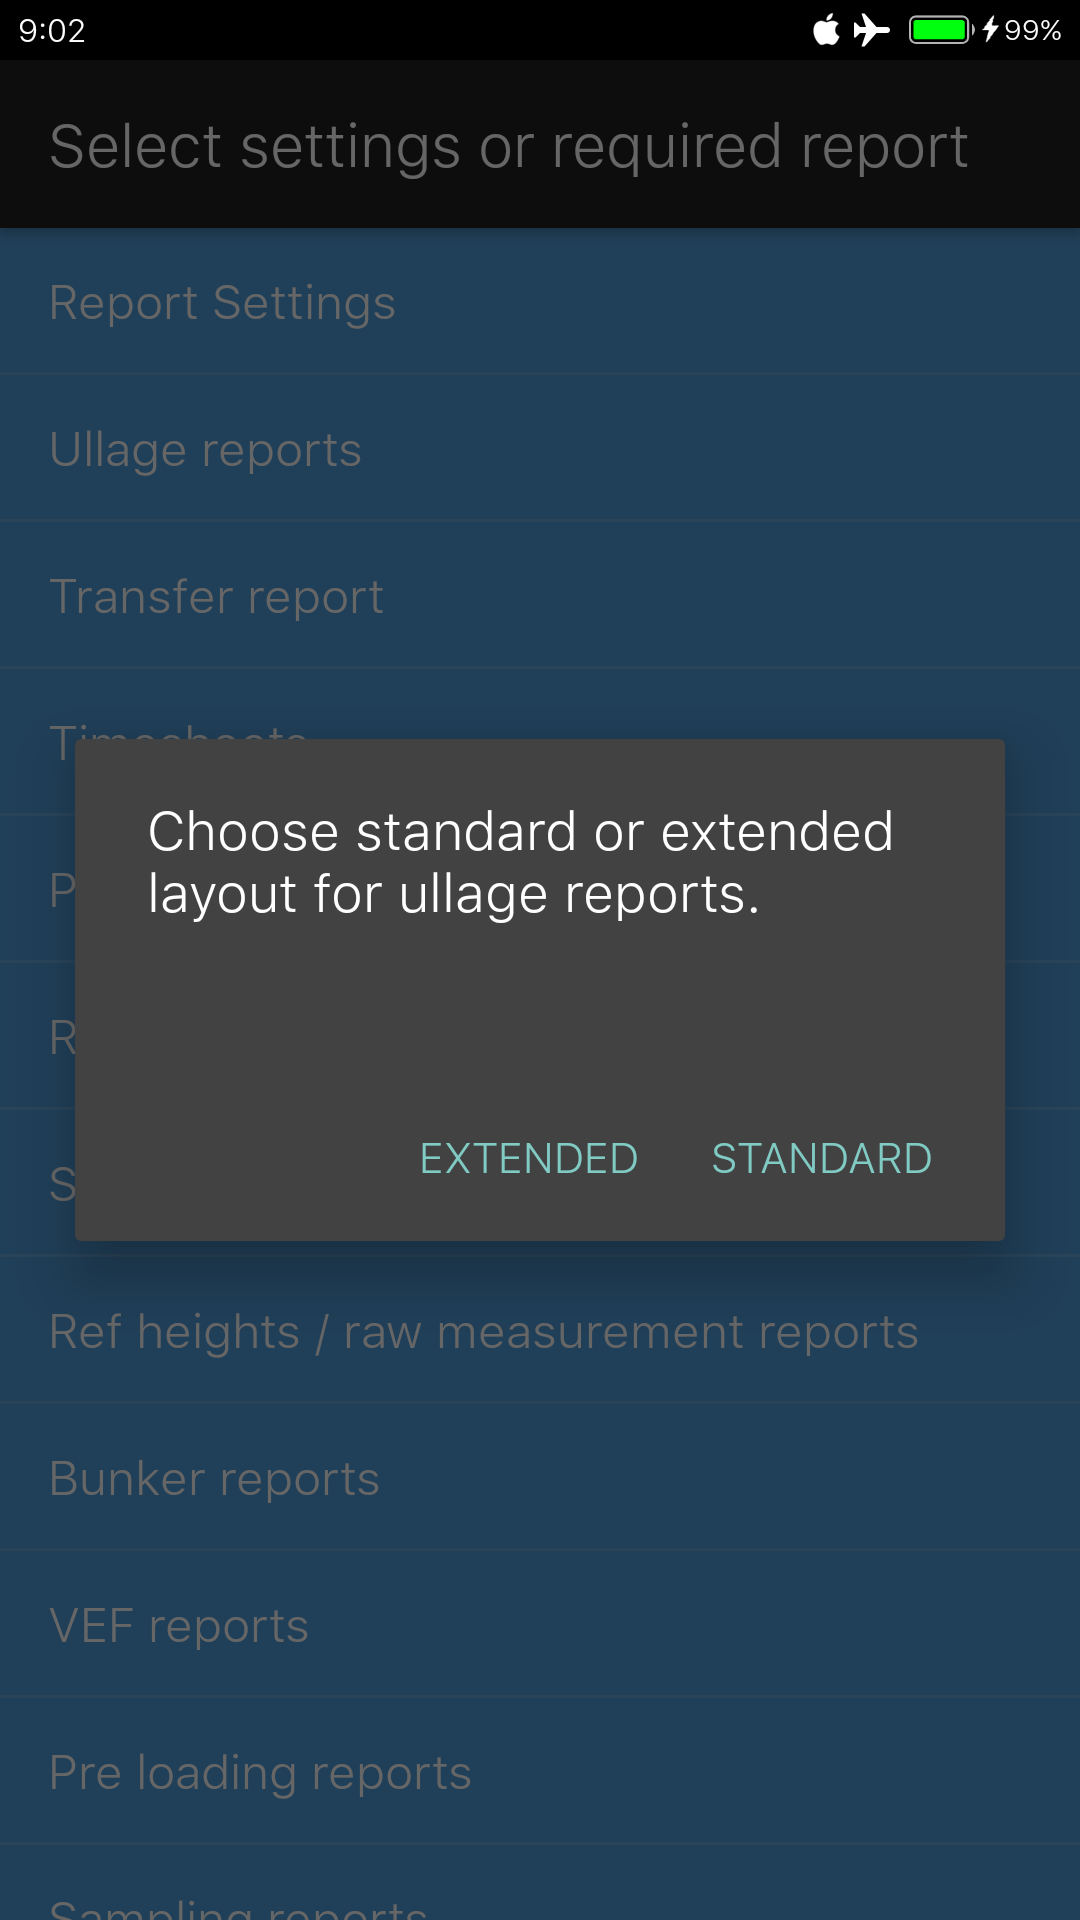
After pressing the option ‘Pdf/jpg Reports’, the list of available types of reports appears. If you accessed this from the very first screen, a message comes up first, asking you to confirm whether to use standard or extended layout for ullage reports. For Bunker reports you can choose either, it makes no difference. The choice between extended and standard layout is only important for ullage reports and transfer summary reports:

After selecting ‘EXTENDED’ or ‘STANDARD’ (if applicable), from the list above you select ‘Bunker reports’, and this will bring you to the list of available Bunker reports. If this is the first time that you are going to create a Bunker report, the list will show only one entry: ‘Create new entry’:

After pressing the ‘Create new entry’ line in the list, you will be asked to enter a title for the report, we can simply use our ‘Testship’ as title:

Once you press ‘OK’, the Bunker reports list shows the new entry ‘Testship’. The here described process for accessing the pdf/jpg reports, and for creating a new pdf/jpg report is the same for all the reports except for the ullage report and transfer report; the ullage report is created from within the STANDARD and EXTENDED tank layout. The transfer report is created based on the selection of two existing ullage reports. More on this in future tutorials.

Now when you select the ‘Testship’ entry, the Bunker reports editor appears if you select ‘Load/Edit data’ from the list of available actions:

The following controls are available in the Bunker report editor:
- Fields for vessel, port and cargo: these 3 entries are taken from the report settings if they exist and can be overwritten. They can only be entered / changed when the 1st tank is selected.
- Arrival date and time field. When you press the field, a calendar and clock appear in which you can select the appropriate date and time.
- Sailed date and time: same as in arrival date / time.
- FO and DO ROB on sailing from last port
- Daily bunker consumption fields for at Sea / in Port / at Anchor, both for FO and DO.
- Tonnes unit, choose between Metric and Long tons (for daily consumption).
- Grade: choose between Fuel Oil and Diesel Oil. The full report consists of 4 parts: Fuel before, after and Diesel before and after.
- Stage: choose before or after (see 7)
- Tank name: when creating a new report, 10 tanks are created both for fuel and diesel, but their names are all blank. When you change a tank name to a proper name, this will be reflected in the tank picker.
- Ullage units, either Mtrs or Ft and inches. If you change the setting while there are values in the applicable fields, these will automatically be converted.
- Volume unit, either M³ or Bbls. The same applies as with ullage units.
- Density unit, either density in vacuum at 15ºC or API value. The same applies as with ullage units.
- Temperature unit, either deg C or F. The same applies as with ullage units.
- Fields for entering both FO and DO consumption.
The units can only be changed when the very first tank (for ‘FuelOil’, in stage ‘Before’) is selected. As soon as you select ‘DieselOil’, ‘After’, or another tank, all unit buttons are disabled.
After a report is created, you can print it using either SI Metric settings or Imperial settings; regardless of what units you have used to enter the data in the report, the report will be printed using the general settings as selected.
In other words, if you have entered your data in Metric units but select ‘Imperial’ in general settings, the report will be printed using Feet and inches for ullage, Bbls for volume, API for density and °F for temperatures.
Further down below you can see the two pdf pages created using Imperial settings. Please note that although we entered values in SI Metric units (see the picture above), in the report Imperial units have been used.
Just like with ullage reports, if you have selected to use the ASTM 2004 tables, then the VCF will be calculated and printed in 5 decimals (as can be seen in the reports).
Creating and editing a bunker report:
The Bunker report is created, edited and send by email / saved to phone from here. As with other reports, when you click the name of the report in the reports list, the app shows you a list of available reports or an entry titled ‘Create new entry’ if there are no available reports. If you select ‘Create new entry’ you need to enter a ship name or other suitable title for the report.

While inside the list (as shown above), there is an options menu that will take you to the settings page, to be able to quickly change settings such as whether to use SI Metric or Imperial.
Once your report is created and you select the entry, you can delete, copy, edit or view the report, and also create a new report.
The first 3 entries are taken from report settings and can be overwritten manually. The report consists of two sections: Fuel Oil and Diesel Oil. For each section there are two sets of data: Before and after. There is no field for a disclaimer; the disclaimer info is taken from the report settings.


In the top part of the editor you can enter date and time for the ‘Before’ section or ‘After’ section, as selected by the setting of the ‘Stage’ switch. (Item 8 in the picture above of the editor).
Also data concerning last port, date/time sailed, and ROB for Fuel and Diesel Oil can be entered here.
These can only be entered when the ‘Before’ stage is selected.
Below these entries you can enter the daily bunker consumption (both for Fuel and Diesel oil) as advised by Chief Engineer, for days at sea, in port or at anchor. Also you can select here whether these are specified in Metric tons or Long tons.
Below the daily bunker consumption are the two switches that you use to select either Fuel Oil or Diesel Oil, and the before or after stage.
Regardless of which tank you are editing, you can at any time switch between Fuel Oil and Diesel Oil and between before and after. Whenever you change one of these, the tank picker automatically goes back to the first tank in the list.
Initially the tank names are all blank. Once you start editing the report you can change the names into an appropriate designation. Tank names can only be changed when the ‘Before’ stage is selected.
For each tank you can enter ullage, volume, temperature and density. For all of them the unit can be changed, and existing values will be converted automatically. The app will calculate and display volume correction factor, GSV and Metric tons in air as you type in values. Once a unit is chosen, this will be used for all tanks.
When you switch the Fuel Oil switch to Diesel Oil, both daily consumption figures and tank data are displayed for Diesel Oil, and vice versa. In order to enter the daily consumption for either Fuel or Diesel Oil, make sure to have the first tank (within the Fuel or Diesel group) selected, otherwise the three fields will not be enabled.
Tonnes unit: switch to select either MTons or LTons as unit; this serves both to indicate the unit for the daily consumption and to display the tons for a selected tank in the app. In the generated report both MTons and LTons are calculated and shown.
The arrival date and time field is used both for arrival and departure (or for before and after an operation). The date in the top header (on the printed report) comes initially from the date entered in report settings; if this is empty, the app will enter as date the departure date if available; if not available the app will use the arrival date.
Departure date here is not to be confused with sailing date, which is the date the vessel sailed from the last port, whereas arrival and departure date only concern themselves with the start and finish of either the cargo operation or a bunkering operation.
Once you are done with creating and editing and return to the list of reports, you can choose to view the report, and you will again be given the options to send by email and export to csv file as with other reports.
In the pdf or jpg report, all calculated data is shown for each tank, together with a totals for both grades before, and after. The example below shows a report that has already been completed (including the bunkers on completion of the port operation).


This is the end of part 4 of this tutorial; in part 5 we will discuss the VEF report. In the mean time, for those who are interested in Cargo Surveyor for Android: the app can be downloaded here:
We post updates for the app in Google Play frequently to solve minor bugs, and advise all users to update as soon as a new update is available; we don’t use advertisements in Cargo Surveyor and we never will.
If you have any queries, suggestions, comments, criticism about the app or this blog post, please let us know! We always do our best to accommodate any requests for additions/modifications to our apps if they improve the value!
