Recently new updates were released both for InterpolatorS for Android and Interpolator for iPhone.
The most important change was the addition of the settings screen in which users can set the number of decimals to use when calculating the interpolation.
The app contains two modes of operation, 2D mode and 3D mode, and because especially the 3D mode requires a bit of practice to be able to put it to use fully, I have decided to post a tutorial about the Interpolator to enable users to utilize the capabilities to the fullest.
OK, let’s get started with the tutorial for Interpolator(S) for Android and iPhone!…
First of all, in the app there are three distinct screens:
– 2D: for interpolating in tables simply between two entries and their corresponding values
– 3D: for interpolating in tables using both a horizontal and a vertical interpolation at the same time
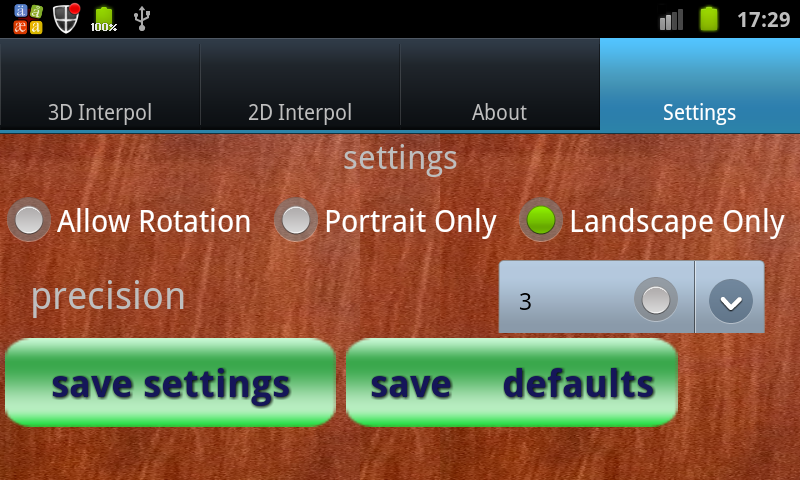
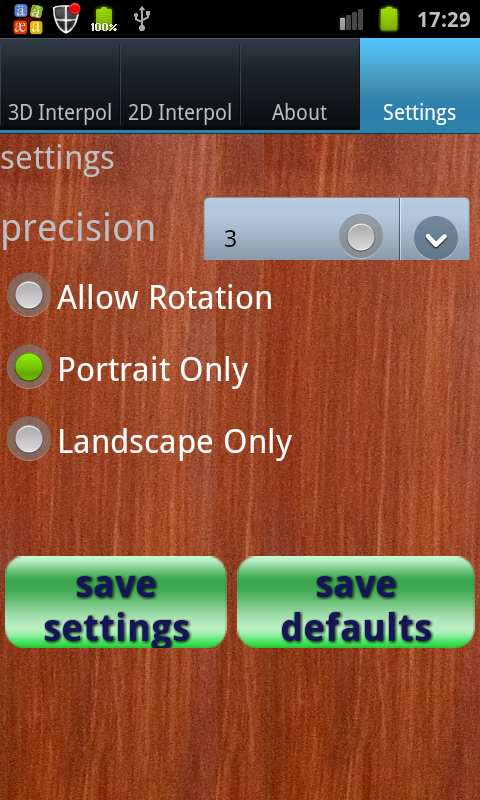
– Settings: for choosing the desired number of decimals used when displaying the result:

Added settings screen
Lastly, in the 2D screen, there is an info button, which when touched, brings the user to the about screen, from where the user has access to our twitter page, facebook page and this website:

info button on 2D screen

About MMC screen
So how do we use the 2D and the 3D screen: lets put the app to work with some real life examples!
In the herewith attached picture (ullage table) an excerpt of a ship’s ullage table is show (in this case for a bunker fuel tank). For those of us not familiar with oil tanks on ships, allow me to briefly explain:
The ullage table is a book that shows for the various tanks on board a ship the relation between the measured level of liquid in the tank and the actual volume of liquid contained in the tank.

ullage table for fuel tank
In the attached screenshot you can see 9 columns, starting on the left with a column called “sound depth CM”, followed by a column called “Trim by head 1.0 M” and a column called “even keel 0.0 M”. At the right hand side of the page, there is a column called “ullage depth CM”.
The columns on the far left and right represent the height of level in the tank, measured from the bottom (sounding) and measured from the top (ullage) respectively. The other columns all represent the volume in the tank (in M3) corresponding to the sounding or ullage at a certain trim. (Trim is defined as the difference between draft forward and draft aft of a ship).
We use the 2D screen to interpolate a volume when the trim is zero, in other words when draft forward and aft are equal.
In the above screenshot if we look at the left hand side, at soundings 300 and 305 cm, we see that inside the red square the volumes are listed as 167.0 and 169.0 M3. Let us assume that we have a sounding of 301.6 cm, what is then the corresponding volume?
Entering the values as required will give us a volume of 167.6400 M3 as can be seen in the screenshot below:

2D interpolation
The result is shown as 167.6400 because I had selected a precision of 4 decimals. Obviously this calculation can also easily be done using a calculator although the fact that the user can choose the number of decimals to choose in the app is quite convenient.
Now let us move on to the 3D mode:
Referring to the screenshot of ullage table above, if we look at the intersecting area of the green and the yellow rectangle, we can see that for the same soundings of 300 and 305 cm, there are now 2 volume values for each sounding, and they differ as a result of the trim of the ship.
Assuming that the ship has a trim of 1.3 meters, and the sounding is again 301.6 cm, the result of the interpolation as shown in the below screenshot is 167.372 (note that this time I have selected a precision of 3 decimals in “settings”):

using 3D interpolation
If you are unsure where to put each value, the various text fields offer clues as to which values put where; for example the hint in the top left field shows “ColActual” when nothing has been entered, and the two fields next to it show “Column1” and “Column2”.
Likewise in the 2nd field on the left side, the hint shows “Row1”, with the two fields next to it showing “ValC1R1” and “ValC2R1” etc:
ColActual Column1 Column2
Row1 ValC1R1 ValC2R1
Row2 ValC1R2 ValC2R2
RowActual
You may have noticed in the 3D screen that there is also a picture which shows an example of sorts of how to use this.
Hopefully after having read the above tutorial, things are a bit more clear! Please do not hesitate to leave any comments here, or post / email me any questions.
 The new version of Interpolator for iPhone can be downloaded in the Appstore.